Archive for the ‘Engine Compartment’ Category
Getting Road Ready
I decided to start piecing the car together and get it on the road. It will not be in final paint or have a new interior, but I’ll be tearing up the streets in it before I die 🙂
Lot’s accomplished tonight:
- Turn signal issue diagnosed and fixed. It was a faulty plug by the front of the drivers door where the rear harness connects. Turn signals all work.
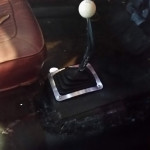
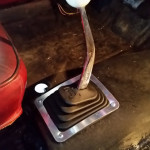
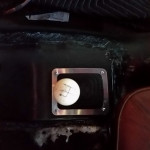
- Seam sealed the shifter tunnel to seal in the weld
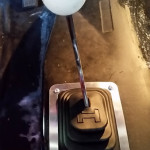
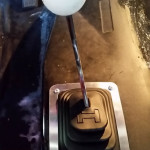
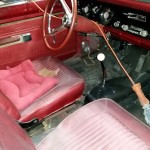
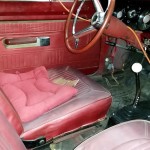
- Installed the Hurst shifter boot
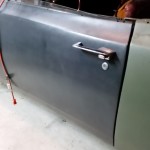
- Installed the drivers door handle hardware
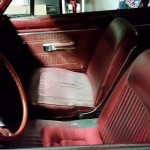
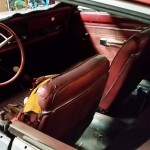
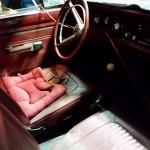
- Installed the passenger seat
- Installed the interior door panels and all hardware. The window winders, the armrests and handles.
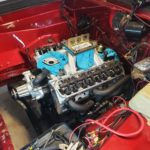
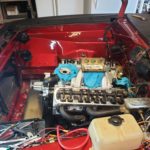
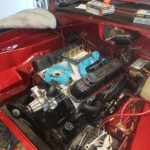
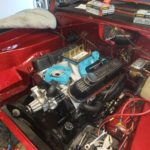
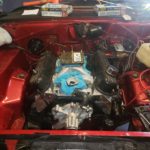
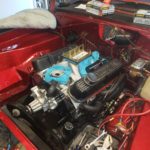
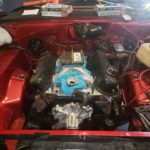
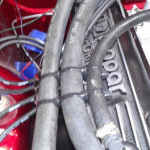
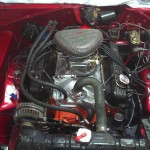
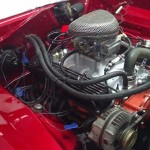
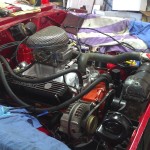
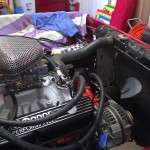
- Cleaned up the wiring in the engine compartment
- Replaced the dimmer switch solving the low-beam/high beam issue
Walk around
Getting closer. Need to do some bodywork/paint… put some seats in (interior will be done later)…
“You wanna lay a little tire?”
Exhaust, sure-grip and thermostat…
Replaced the thermostat housing gasket, installed the 3.23 sure-grip rear and bolted up the full exhaust system.
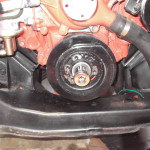
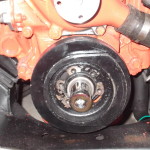
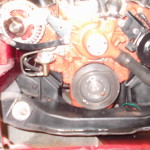
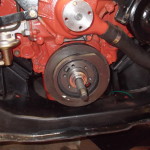
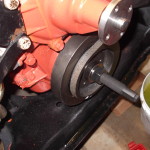
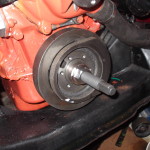
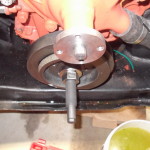
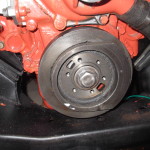
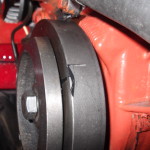
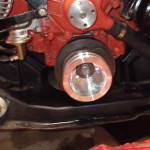
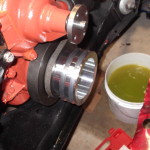
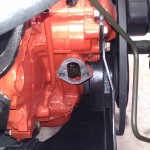
New Harmonic Balancer and Crank Pully
The engine has some kind of oil leak near the balancer, but only when the alternator and P/S pump belts are installed and tightened. I decided it was time for a new balancer and pulley…
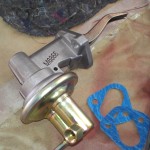
New fuel pump
The old fuel pump was not working, ordered a new on from Classic Industries. It’s not quite the same outlet, so I’ll have to bend the line a little to make it work… nothing is ever easy.
Spark Plug wires
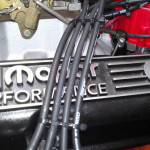
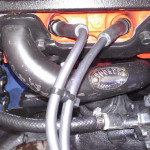
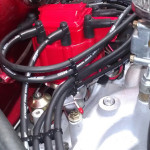
Using that wires supplied by the MSD kit, we cut them each to custom length and added the boots. Check out the custom Spark Plug Wire Looms……. Tie Straps. They turned out great and helped clean up the look.
More progress
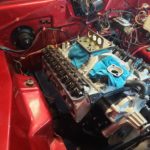
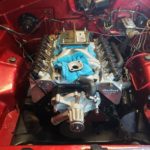
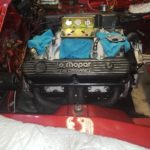
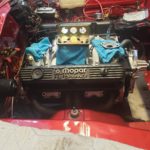
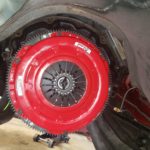
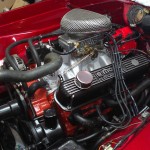
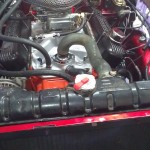
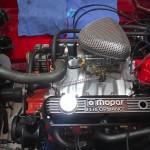
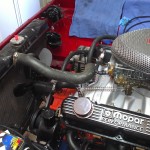
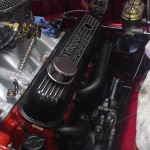
Getting closer to firing it up! Tested and installed the radiator and upper/lower hoses. Had the starter tested and then installed it. Installed the Mopar HEI distributor and bolted down the valve covers. Had to do some fabrication to the clutch adjusting rod to make it longer… Won’t be long….
The Headers are IN!
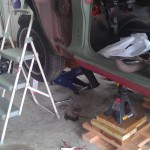
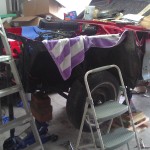
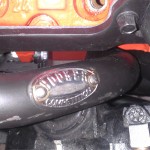
What a collosal pain in the ass it is to put Hooker HOK-5901HKR Headers into a Mopar A-Body. Both motor mounts were unbolted. Torsion bars had to be removed on both sides which was a pain in itself. Once those were removed, the passenger side installed without much of a hassle. The drivers side however, a very different story. The steering box was removed, the clutch z-bar was removed. The car had to be raised as high as possible. We used ramps on the rear wheels with 3-ton jackstands on the rear axle. On the front, a special contraption was made out of wood that was lying around which gave us 12″ of extra lift and was used as a base for the taller 3-ton jackstands. Together, that gave us 34 inches of lift. It’s important to understand that after we got the vehicle up that high, we DID NOT go under it. We attached a bungee cord and rope to the header and pulled it up from above. The car needed to be that high so that the header could get just about verticle. The steering box was held from above and positioned into place while the headers were pulled up. The engine was jacked as high as it would go before it started moving the body…When we got it close to being in place (after lots of tugging, pulling and some serious swearing), we put 1 bolt in and then lowered the car back to a normal, safe height and bolted the steering box back in place. The we proceeded to bolt the driver’s side header n place. After that, we bolted the motor mounts and re-installed the clutch z-bar. WHAT A HUGE PAIN IN THE ASS…but it’s done and getting much closer to firing it up!
