Archive for the ‘Restoration’ Category
Rear Brake Dilemma….
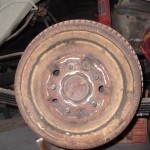
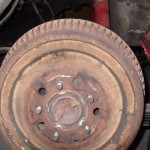
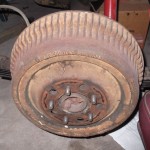
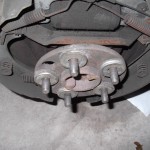
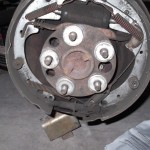
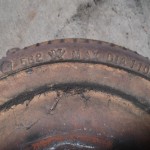
After installing new brake lines/master cylinder, it was time to bleed the brakes. We pulled the rear wheels and were a little surprised by what we saw. The rear drums are 11 inch drums, not the expected 9-10 inch drums. It was strange to see…take a look at the pics. The drum is not tight around the axle, heck, it’s not even close. But the super strange part is that there are washers on the studs placed behind the drum to give it a little breathing room from the backing plate…that cannot be good. I’ll need to figure this out. Most likely get it back to what it was originally… 9 or 10 inch drums with correct shoes, springs and wheel cylinder.
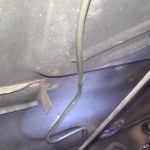
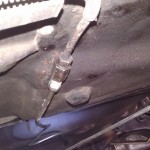
Brake Line
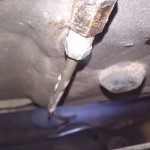
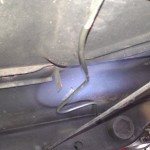
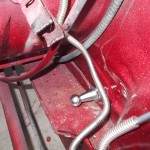
Needed to replace the brake line from the distribution block to the back… the line was 47in. and the replacement piece was 51in.. didn’t want to cut it and have to flare it, so I created a little detour taking up the 4inches.
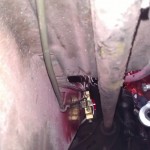
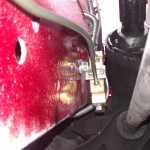
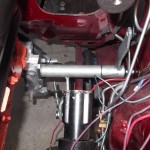
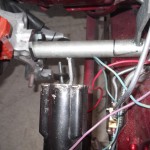
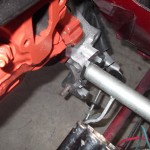
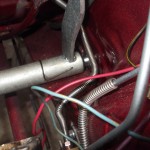
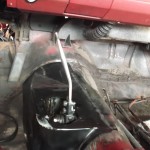
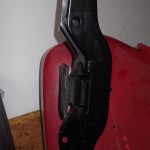
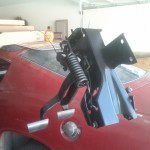
Clutch z-bar installed and console bracket removed
Installed the clutch z-bar along with all of the clutch linkages.
4-speed floor hump
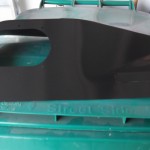
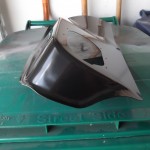
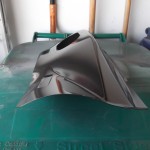
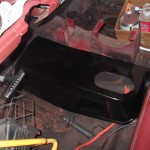
The 4-speed floor hump showed up today from Classic Industries. Now I just have to measure twice, cut once and weld. Also, finally picked up the frame side ball stud for the z-bar pedal linkage. Things are getting closer…
Engine Accessories
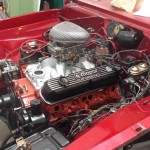
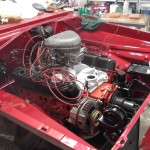
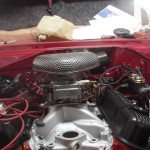
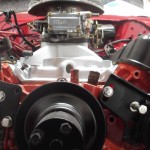
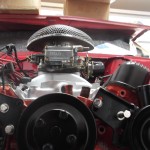
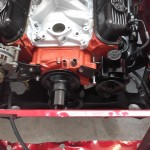
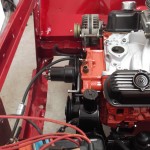
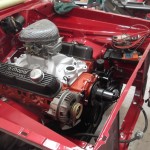
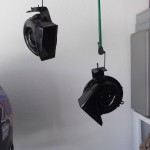
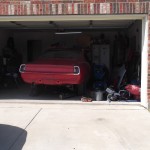
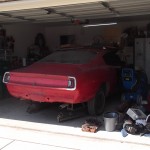
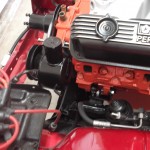
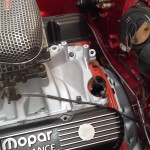
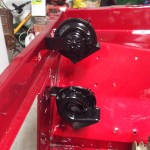
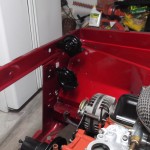
The Alternator and Power Steering were mocked into place. Still need some spacers for the alternator bolts but it’s in the correct spot. Did inventory and found the inspection cover for the flywheel. Have 2 starters to get tested. Did some painting…horns look new. Other pics are just random ‘How things look now” pics…
Misc
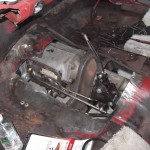
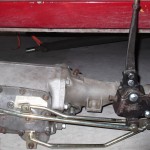
The transmission linkages are all now working. The unit shifts terrific in all forward gears, but the reverse rod is approx 1 inch too long. I was able create an extension on the lever and it works great. The 4-speed is ready to go in, but I still need to cut out the floor for it to fit. Soon…
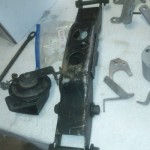
Also, did some more sandblasting in Ben’s cabinet. You can see some items done and a before/after of the transmission cross-member which now looks brand new in it’s Eastwood Chassis Black paint.
Preval Spray Gun
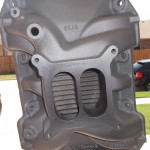
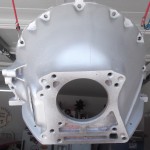
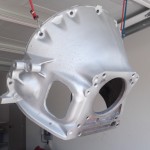
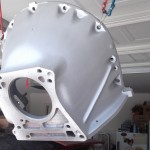
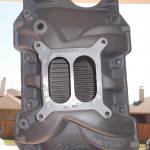
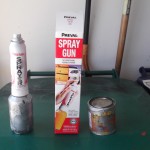
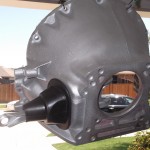
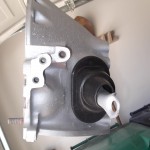
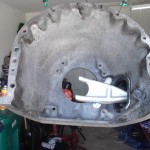
I am in love with this portable spray gun. I used the Preval System with some POR-20 Heat Resistant Aluminum paint to spray the Edelbrock Performer intake and the Bell-housing. The POR-20 paint was thick, so I had a concern that the Preval wouldn’t be able to lay it down consistently….I was wrong. It sprayed well, although somewhat messy….paint was all over the sprayer and bottle and my gloves. There are breather holes in the cap so the ‘gun’ needs to stay verticle for the most part otherwise some paint may leak. I learned the hard way. Having said that, it laid down in 2 nice even coats and once again, the parts look great.
Sandblasting
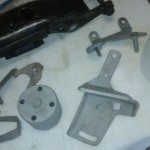
Sandblasted the motor mounts and clutch fork at Ben’s house. After a coat of chassis black on the motor mounts and some POR-20 Aluminum on the clutch fork, they look new.
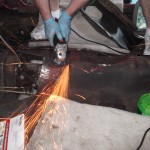
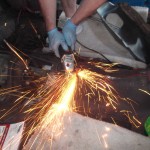
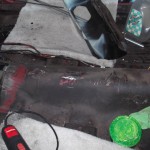
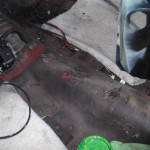
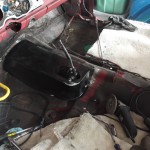
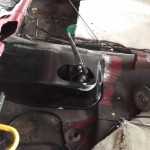
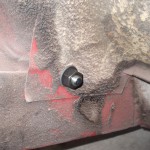
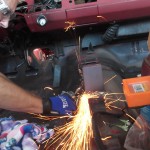
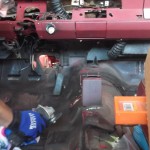
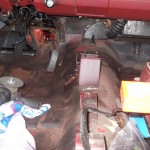
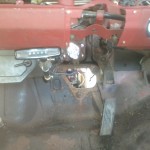
Decided to attempt to grind off the welds holding the console mounting brackets. The plan is to sell the complete automatic transmission setup as a whole. That includes the 727 automatic transmission with torque converter, the floor section that I’ll be cutting out and replacing with a 4-speed floor, the console with brackets, the automatic shifter with linkages and the automatic pedal assembly. However, while attempting to liberate the brackets, I’m actually doing a better job at cutting thru the floor, so I decided to keep them attached to the floor for now and attempt to make some kind of template to cut out the section for the factory 4-speed hump…
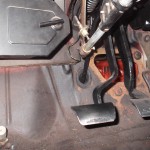
Steering column & Factory Pedals
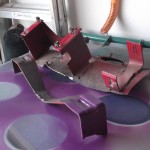
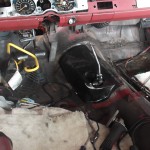
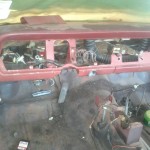
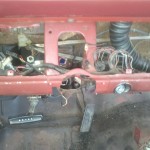
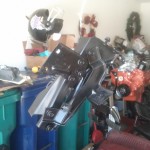
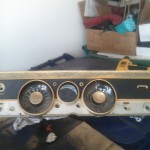
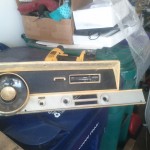
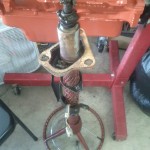
In order to install the 4-speed pedals, we (Ben and I) needed to remove the factory pedals as well as the steering column. The gauges were also removed and will be cleaned and ‘restored’ soon.
