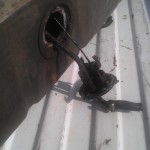
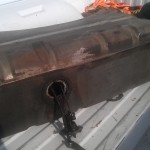
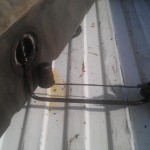
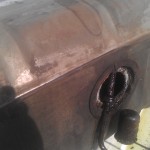
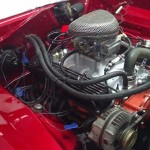
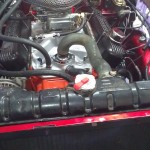
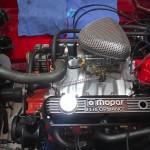
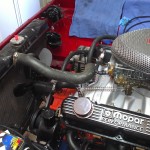
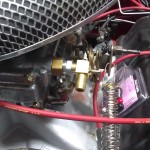
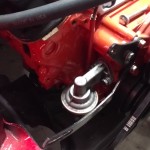
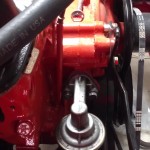
New fuel pump
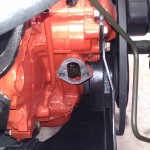
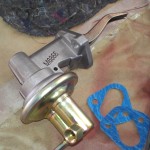
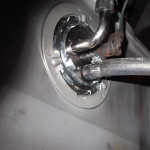
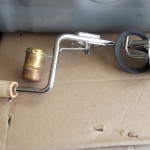
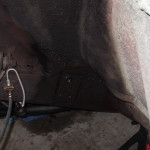
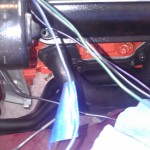
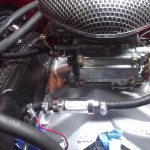
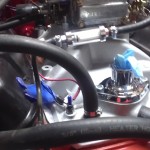
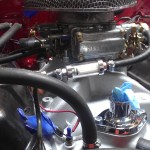
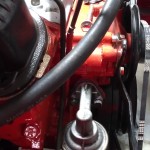
The old fuel pump was not working, ordered a new on from Classic Industries. It’s not quite the same outlet, so I’ll have to bend the line a little to make it work… nothing is ever easy.
New tank installed
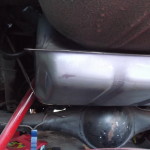
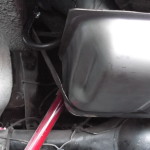
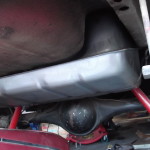
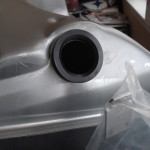
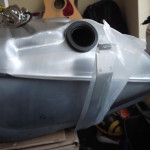
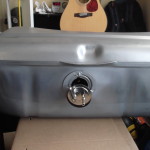
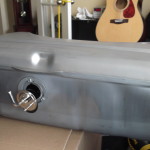
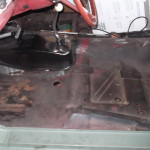
Installed the new fuel tank, pickup and filler grommet but kept the original strap since there was nothing wrong with it and it fits like a glove. Putting this tank in was a slight pain in the ass as getting it to slide in while also manipulating the filler tube into the new grommet sucked. It took some geometry and some technique, but it went.
New Tank
The new gas tank has arrived with the complete kit. Tank/filler grommet/strap with hardware and pickup with hardware. Good value from Ebay (In my opinion)… Shout out to tomsclassic eBay Store. The link to his eBay store is:
http://myworld.ebay.com/tomsclassic?ssPageName=ADME:L:OU:US:1181
New tires – Pulled gas tank
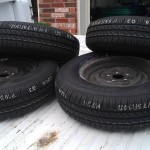
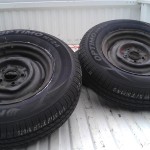
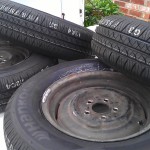
We will be moving to a new house soon and I needed to get some new tires in order to move the car. The tires on the car are dry rotted and two of them have actually exploded.. Purchased the cheapest 195-65-14 tires that they had…
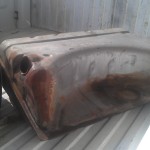
Pulled the gas tank… will not be using this one. The pickup was completely rotted and rusted wide open. Ordered a new tank/pickup.
Good Progress
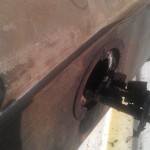
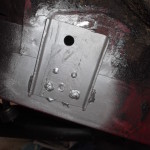
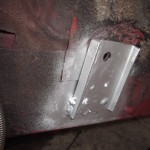
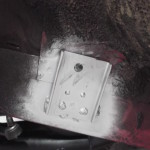
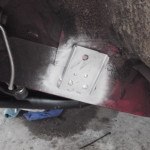
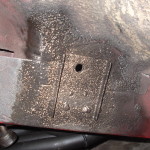
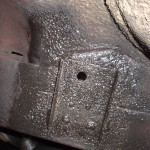
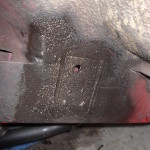
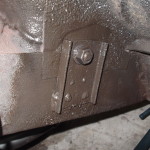
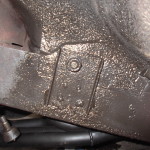
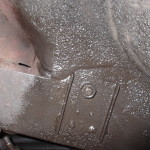
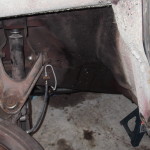
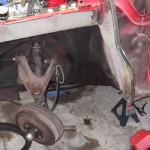
Made good progress today. Ben fabricated a support brace for the 4-speed z-bar. This reinforces the inner fender wall area where the stud attached to the ball-stud comes through. It was welded to the inner fender and also the frame rail…and provides a stronger brace than the factory one. It was fabricated out of 2 pieces of angle iron and a solid piece of steel to connect them all together. After it was welded and re-installed, I sprayed it with an undercoating so that it would just ‘disappear’.
Re-installed the steering column and all of the steering components. Need to order Outer Tie-Rod ends.
It’s alive!
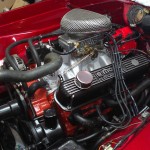
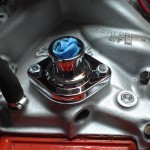
Pretty much fired right up after wiring up the battery and setting up a wire for the coil. It has an oil leak at the oil adapter that I have to address, but other than that, it seems to run really well. I’m sure the neighbors are real happy….
Spark Plug wires
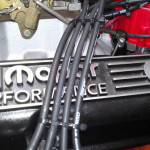
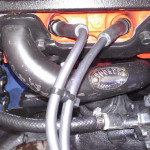
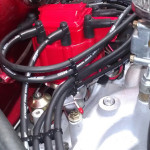
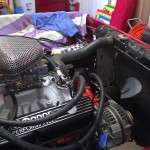
Using that wires supplied by the MSD kit, we cut them each to custom length and added the boots. Check out the custom Spark Plug Wire Looms……. Tie Straps. They turned out great and helped clean up the look.
More progress
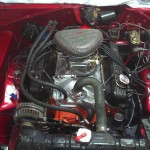
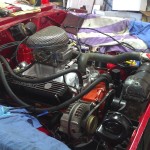
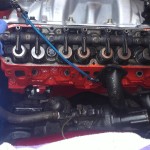
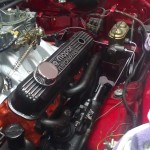
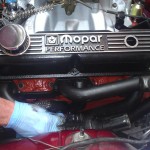
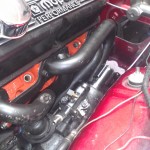
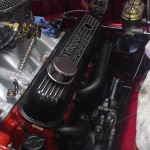
Getting closer to firing it up! Tested and installed the radiator and upper/lower hoses. Had the starter tested and then installed it. Installed the Mopar HEI distributor and bolted down the valve covers. Had to do some fabrication to the clutch adjusting rod to make it longer… Won’t be long….
The Headers are IN!
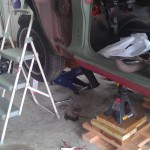
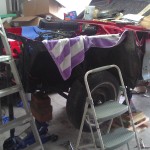
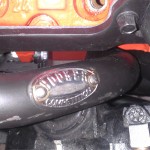
What a collosal pain in the ass it is to put Hooker HOK-5901HKR Headers into a Mopar A-Body. Both motor mounts were unbolted. Torsion bars had to be removed on both sides which was a pain in itself. Once those were removed, the passenger side installed without much of a hassle. The drivers side however, a very different story. The steering box was removed, the clutch z-bar was removed. The car had to be raised as high as possible. We used ramps on the rear wheels with 3-ton jackstands on the rear axle. On the front, a special contraption was made out of wood that was lying around which gave us 12″ of extra lift and was used as a base for the taller 3-ton jackstands. Together, that gave us 34 inches of lift. It’s important to understand that after we got the vehicle up that high, we DID NOT go under it. We attached a bungee cord and rope to the header and pulled it up from above. The car needed to be that high so that the header could get just about verticle. The steering box was held from above and positioned into place while the headers were pulled up. The engine was jacked as high as it would go before it started moving the body…When we got it close to being in place (after lots of tugging, pulling and some serious swearing), we put 1 bolt in and then lowered the car back to a normal, safe height and bolted the steering box back in place. The we proceeded to bolt the driver’s side header n place. After that, we bolted the motor mounts and re-installed the clutch z-bar. WHAT A HUGE PAIN IN THE ASS…but it’s done and getting much closer to firing it up!
Fuel line run
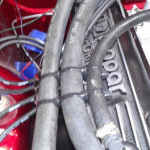
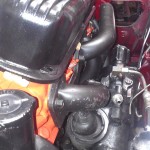
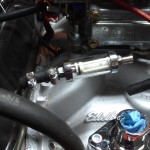
Custom bent the fuel line from the fuel pump to the carb with an in-line see through filter.
