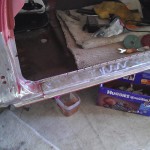
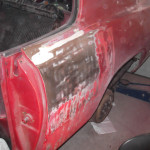
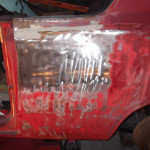
Little self-etching primer
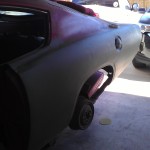
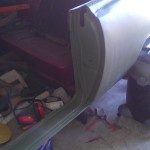
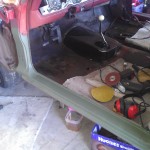
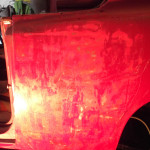
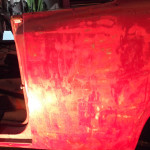
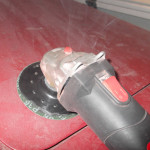
36-grit grinding disks used to remove paint on the drivers door jam area…. and some rattle can self-etching primer (for now) to cover the bare metal.
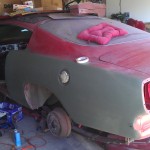
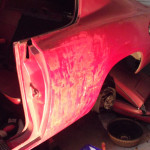
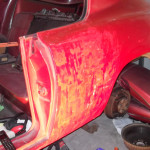
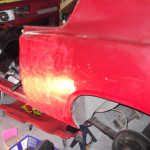
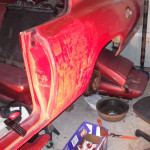
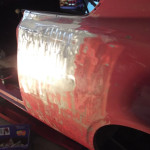
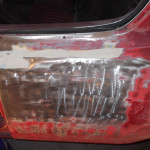
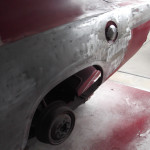
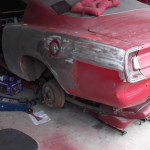
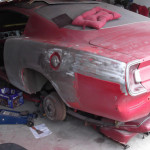
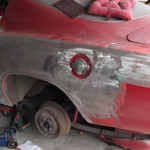
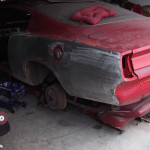
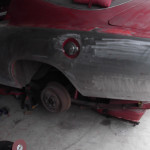
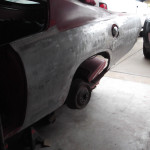
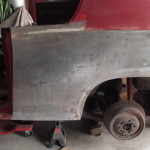
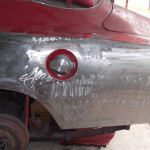
Drivers side quarter….stripped
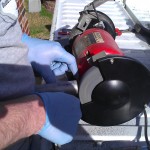
Stripped the drivers side quarter panel. Less paint on this body panel as it appears to have been replaced at some point. Only a few minor injuries to my hands… and one burned up grinder.
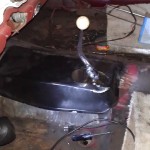
Shifter Modified and installed
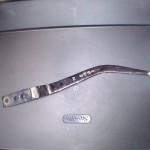
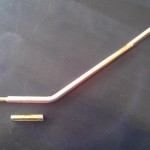
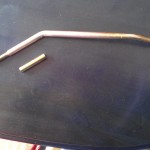
Shortened the shifter by about 2 to 2.5 inches and drilled 2 new holes. Installed and fits perfectly.
Heater Hoses and Hurst ‘Indy’ Shifter
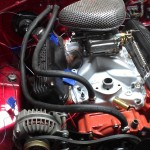
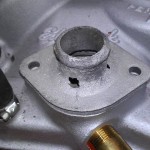
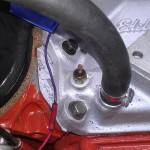
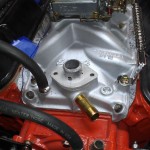
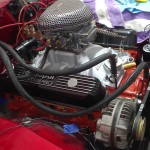
Home Depot supplied the brass heater hose fitting for the intake and the heater hoses have been installed. Also installed the Temperature Sending Unit and have to figure out how to modify the brass bypass fitting. I attempted to clean up the thermostat housing and it disintegrated under a little sandblasting …. so I’ll be replacing that.
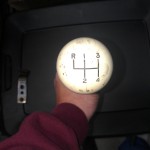
Also, picked up a Hurst ‘Indy’ shifter handle from eBay. Turns out that it’s too long and using it would cause severe knuckle damage when power shifting into 3rd gear… it needed modified. About 2-2 1/2 inches was cut off the end. New holes will be drilled shortly and the new shifter handle will get installed.
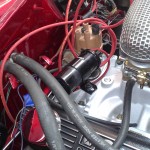
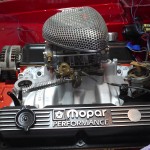
Got the PVC, Coil Bracket and Coil and the belts installed. Next, Radiator and hoses.
Odds and Ends
Ben is becoming a great fabricator. The reverse linkage rod was approx 2 1/4 inches too long. He cut out 2 1/4 inches out of the rod and welded the threaded end back in place… after installing it… PERFECT fit.
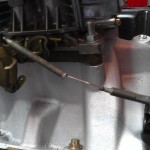
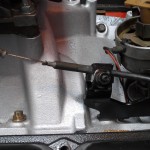
Added new throttle return springs and bracket.
Driveshaft installed.
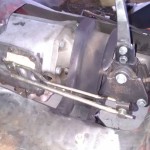
The 1st/2nd gear shifter rod was hitting the crossmember. The crossmember was clearanced a little to make room. After installing the rods, it no longer hits the crossmember.
Mocked up the throttle cable.
Rear Brake Dilemma….
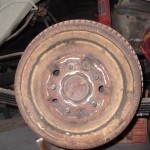
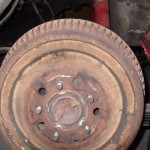
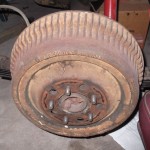
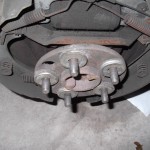
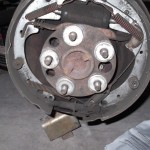
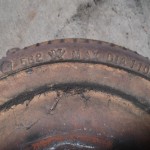
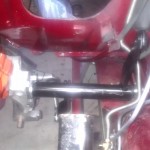
After installing new brake lines/master cylinder, it was time to bleed the brakes. We pulled the rear wheels and were a little surprised by what we saw. The rear drums are 11 inch drums, not the expected 9-10 inch drums. It was strange to see…take a look at the pics. The drum is not tight around the axle, heck, it’s not even close. But the super strange part is that there are washers on the studs placed behind the drum to give it a little breathing room from the backing plate…that cannot be good. I’ll need to figure this out. Most likely get it back to what it was originally… 9 or 10 inch drums with correct shoes, springs and wheel cylinder.
Brake Line
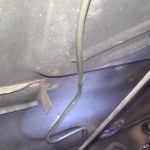
Needed to replace the brake line from the distribution block to the back… the line was 47in. and the replacement piece was 51in.. didn’t want to cut it and have to flare it, so I created a little detour taking up the 4inches.
Z-Bar Modification
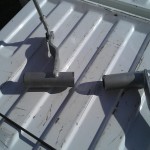
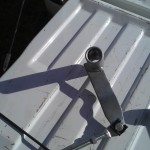
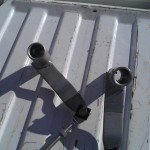
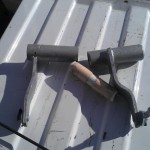
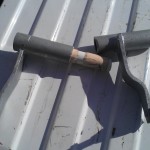
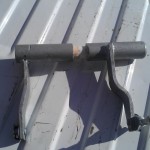
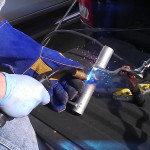
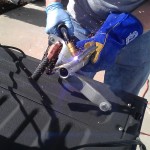
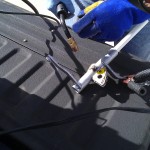
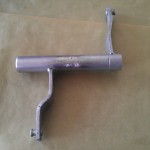
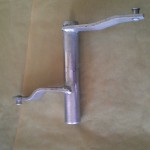
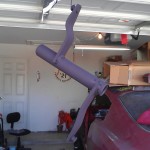
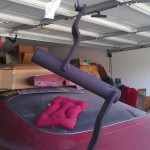
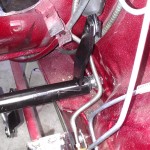
The z-bar needed modified as the rod to the clutch fork didn’t reach and the z-bar itself was a very, very tight fit. The z-bar was cut in half and about 1/16 – 1/8 of an inch removed. Then we fabricated a sleeve using some pvc pipe and some masking tape. This allowed us to put the 2 pieces together and keep them lined up while we twisted the halves of the z-bar into the best position. After we got it lined up, we marked it, tacked it with the welder and then ran a nice solid bead around the whole thing. The weld was ground down, then the z-bar was primed and painted, then cleared.
