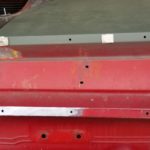
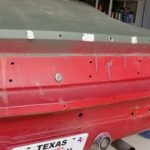
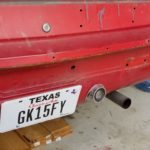
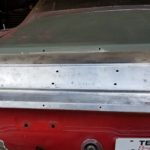
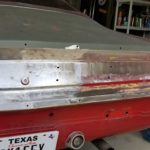
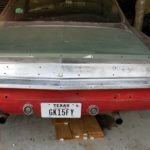
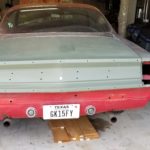
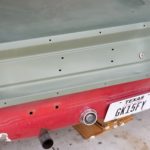
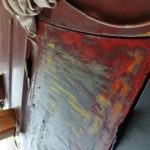
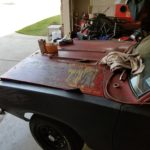
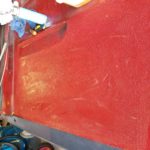
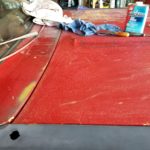
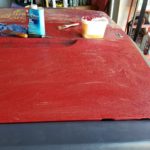
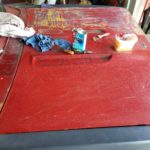
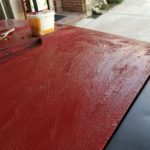
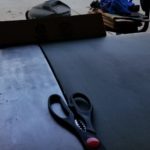
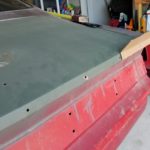
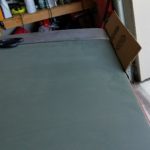
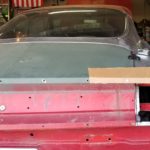
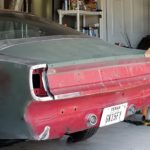
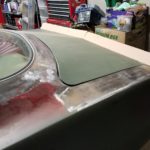
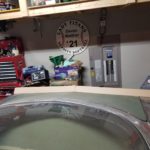
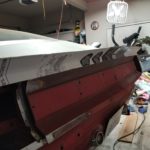
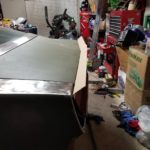
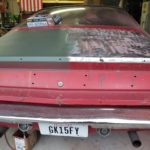
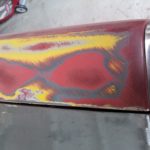
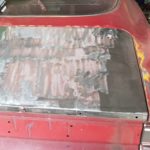
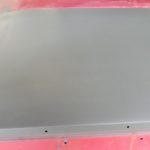
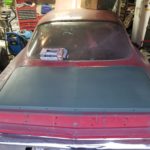
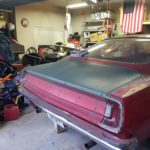
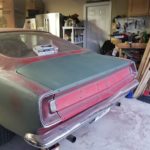
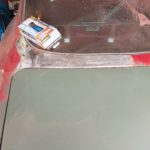
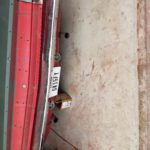
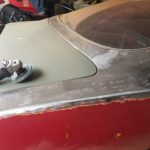
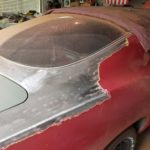
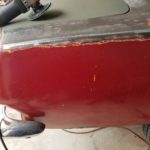
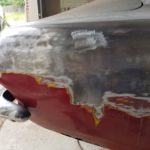
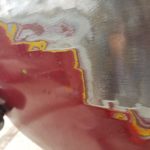
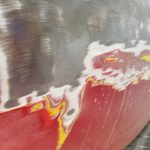
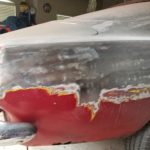
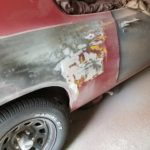
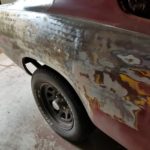
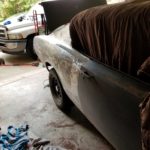
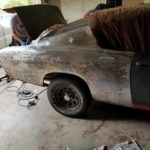
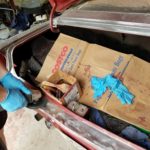
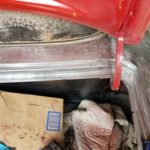
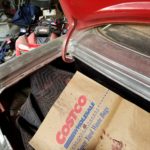
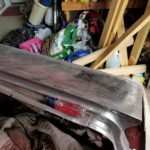
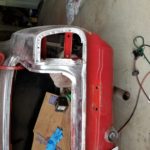
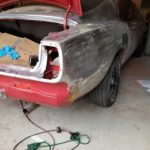
More paint removal
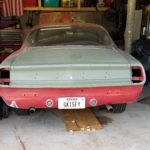
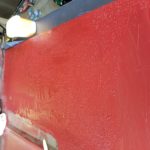
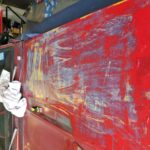
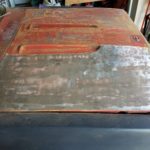
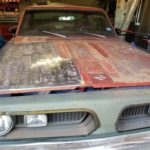
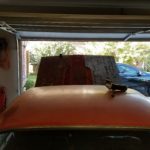
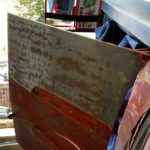
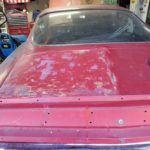
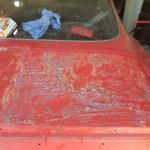
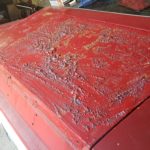
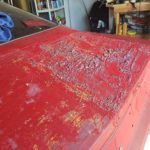
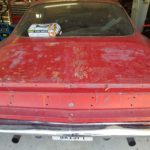
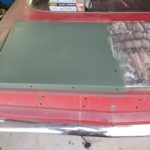
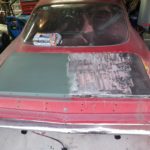
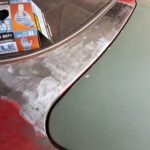
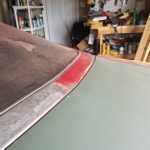
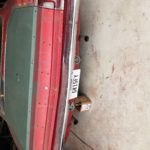
… this time finishing the trunk lid, leaving the rear valance, the roof and the remainder of the hood.
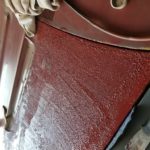
Time to strip the hood
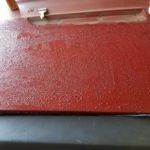
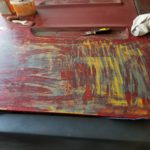
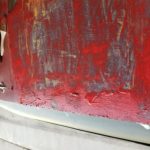
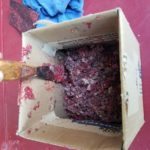
Started stripping the hood. Removing all of this paint is brutal and makes a huge mess, but having said that, I think all of this paint probably helped keep this car rust free.
Spoiler thoughts
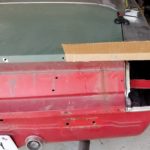
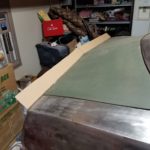
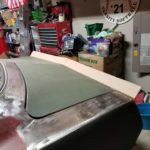
This is just an idea… the thought is NASCAR type spoiler across the trunk lid. This is just a small piece but gets the point across. 3 inches tall, not sure about the angle. It’ll be one piece welded in the middle to accommodate the pointed trunk and will take the shape of the trunk. Bolted to the trunk lid and extending over the tail lights.
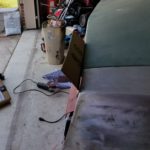
Made a full cardboard template. I think I’ll actually pursue this and make it out of sheet metal.
Back to paint stripping…
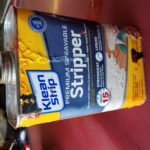
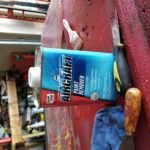
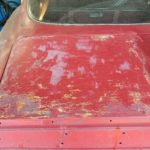
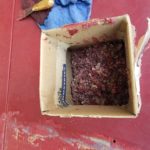
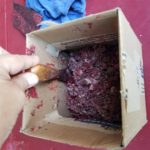
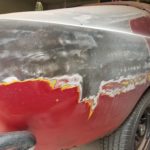
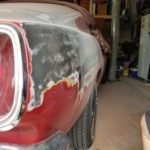
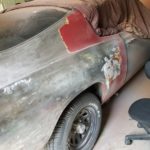
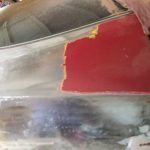
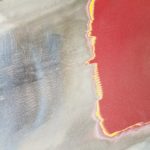
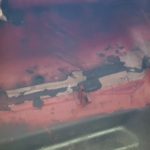
Started stripping/grinding the 8 layers of paint from the trunk area and passenger quarter panel.. Used a combination of aircraft stripper and a grinder with 24-grit and 36-grit discs. After it was down to bare metal, then a red scotchbrite pad to smooth the surface in prep for primer. Overall the metal is in great shape with the exception of the passenger quarter panel as it is rusted in the lower section behind the wheel and there was a considerable amount of body puddy (filler) applied previously to smooth out some sort of previous impact. I will be replacing the lower rear section of the quarter panel with a patch piece that is currently on backorder. That will fix the rust issues on this panel.
Still on the to-do list is stripping the hood and the roof.
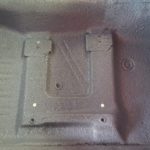
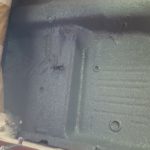
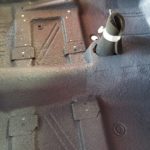
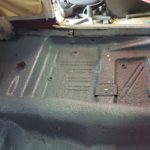
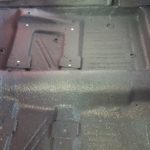
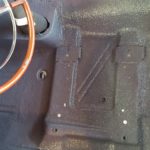
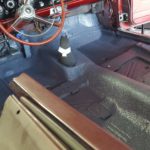
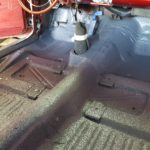
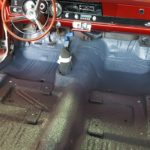
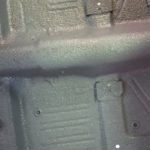
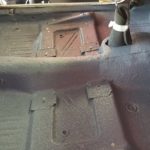
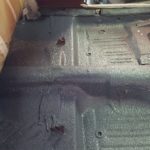
Lizard Skin Sound Deadener
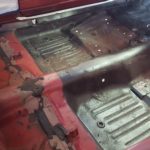
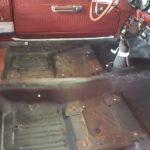
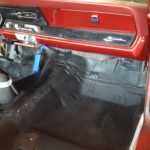
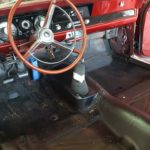
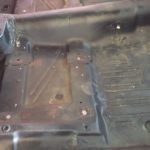
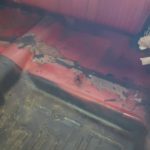
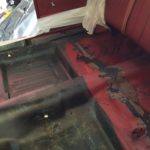
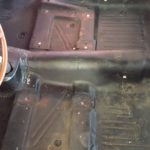
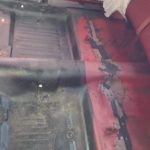
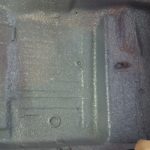
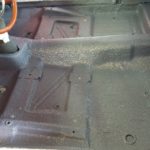
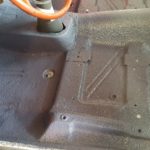
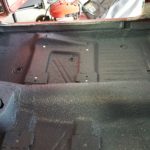
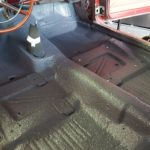
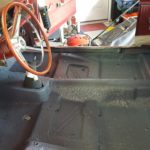
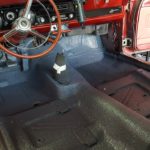
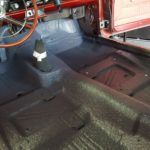
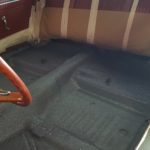
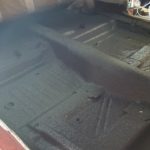
Removed the seats, front and back. Broke out the ole shopvac and cleaned up the passenger compartment area and prepped it for some Sound Deadening Lizard Skin.
Misc Items
The car had a few things that needed some attention to drive it more often.
- There was a banging noise coming from passenger rear.
- After a little look and test while it was off the ground, the front leaf spring connector bolts were not 100% tight. They were tight, but still loose enough to cause play. Cranked that baby down and solved this problem.
- Fuel Gauge not working.
- Some quick diagnosis showed that my ground strap was not fully connected. Pulled it off, sandblasted it and sanded the lines for a good contact. Did not fix the issue. Pulled the sender wire and grounded it and the fuel gauge went from E to beyond F..so the gauge is working as well as the wire. Looks like I’ll need to replace my brand new sending unit as it seems to be bad. Stay tuned.
- Terrible noise coming from Right Front.
- This one was a dandy. Pulled the right front tire and the brake caliper fell to the ground. The 2 monster bolts (1/2 x 20 x 1 3/4 Grade 8) were gone. Somehow managed to work themselves out. I know that they were tightened to 120 ft lbs….but I did not use any kind of lock-tite. I went to a local hardware store and picked up some new bolts and put everything back together. Everything is working fine and as expected, however this is something that I will check each time I drive it… for a little while at least until I’m convinced they’ll remain on the car.
- Overheating. Whenever the car was taken out, it overheated. Even if I was able to manage a decent speed with good air flow, it still overheated.
- I do not have a shroud, so that will be added at some point in the future.
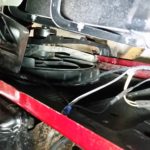
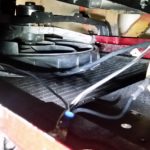
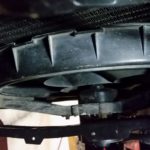
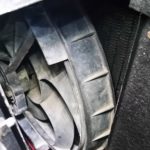
- I was able to purchase a used electric fan at the same estate sale I got the rear spoiler from. No idea what the fan came off of or if it would even work, but it was marked $5 and everything was 50% off that day, so for $2.50, it was worth a shot.
- It’s a 16 inch fan and it worked. It fits offset from center favoring the drivers side and is just about as ‘tall’ as the height of the fins.
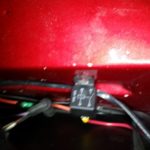
- Mounted it in front of the radiator in a ‘push’ fashion. Connected a 4 post, 30 amp relay to do the dirty work. It’s wired to engage when ignition is on, so it runs anytime the car is running. I prefer that scenario.
- Took the car for a ride and the temperature gauge didn’t go much above middle… which is good. A shroud should help even more.
-
New valve springs
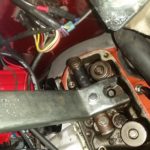
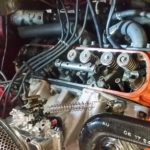
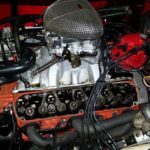
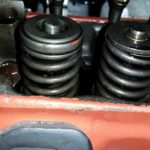
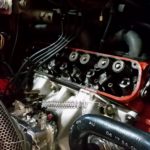
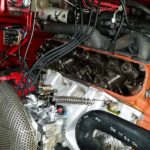
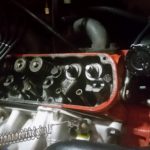
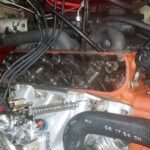
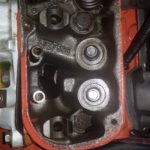
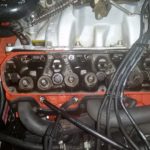
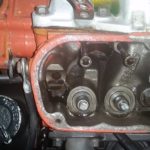
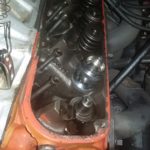
Received my new valve springs better matched for my installed cam from http://alexsparts.com. Fabricated a tool to compress the spring using compressed air in the cylinder. All springs and seals replaced. Ran them thru a heat/cool cycle and took it for a test drive. The car runs pretty good, still a little valve rap, but I’m thinking timing now.
Valve springs
At 2500 RPMs, seem to experience some valve floating. I will be replacing the stock valve springs with some performance springs supplied by Alexs Parts at http://alexsparts.com/. Alex will also be supplying new seals as well as multiple sizes of hardened shims to establish the correct installed height. Used compressed air and a home made valve spring depressor tool to unspring cylinder #1.
